The BBC television show Doctor Who follows The Doctor and his companion as they travel through time and space saving alien civilizations and often the Earth. The Doctor himself is an alien from the planet Gallifrey who travels in a time machine disguised as a police public call box from mid-20th century London.
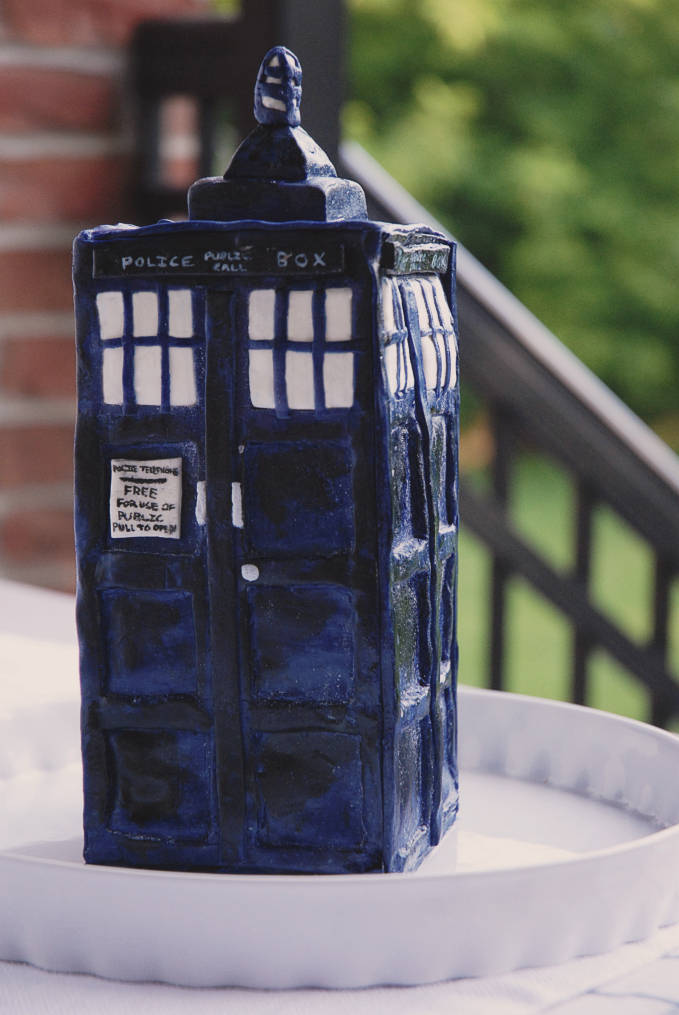
The time machine, called a TARDIS (Time and Relative Dimension in Space), is easily recognized by any Doctor Who fan. In order to celebrate my brother R’s birthday, and the upcoming 50th year anniversary of one of my favourite television shows, I decided to bake a TARDIS cake. I built a time machine out of cake.
To make this cake you’ll need about 700g (1.5lbs) of TARDIS-blue coloured modelling chocolate. I used modelling chocolate over fondant in this recipe in order to get much sharper edges.
Finding a modelling chocolate recipe online is not difficult, and so I will not be including instructions for making modelling chocolate in this tutorial. To ensure that you tint all the modelling chocolate the same shade of blue, I suggest adding the food colouring directly to the corn syrup before stirring it into the melted chocolate rather than kneading food colouring into the finished modelling chocolate. This will help disperse the colouring evenly. I found a picture of the TARDIS online and tried the match the colour as best I could.
I started making the cake by using half of the modelling chocolate to make four TARDIS sides. I cut out four 10cm (4 inches) by 20cm (8 inches) pieces of modelling chocolate to make the sides of the TARDIS. Note that all measurements, and print-outs, for this tutorial are available at the end of the post in a single convenient file I created.
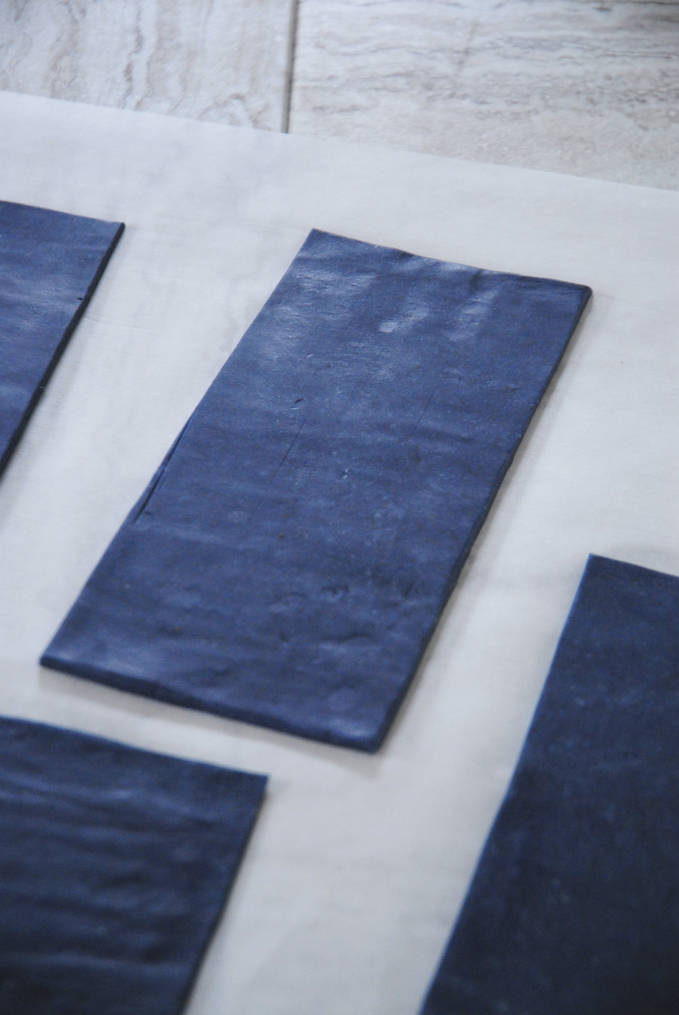
I marked a few lines on these rectangles as a guide of where to cut out inset panels. I scored three long vertical lines, one in the center and two 1cm (0.4 inches) from either side. I also marked a few perpendicular lines to these, one 1 cm (0.4 inches) from the bottom, and then three lines 4.5cm (1.8 inches) apart above that one.
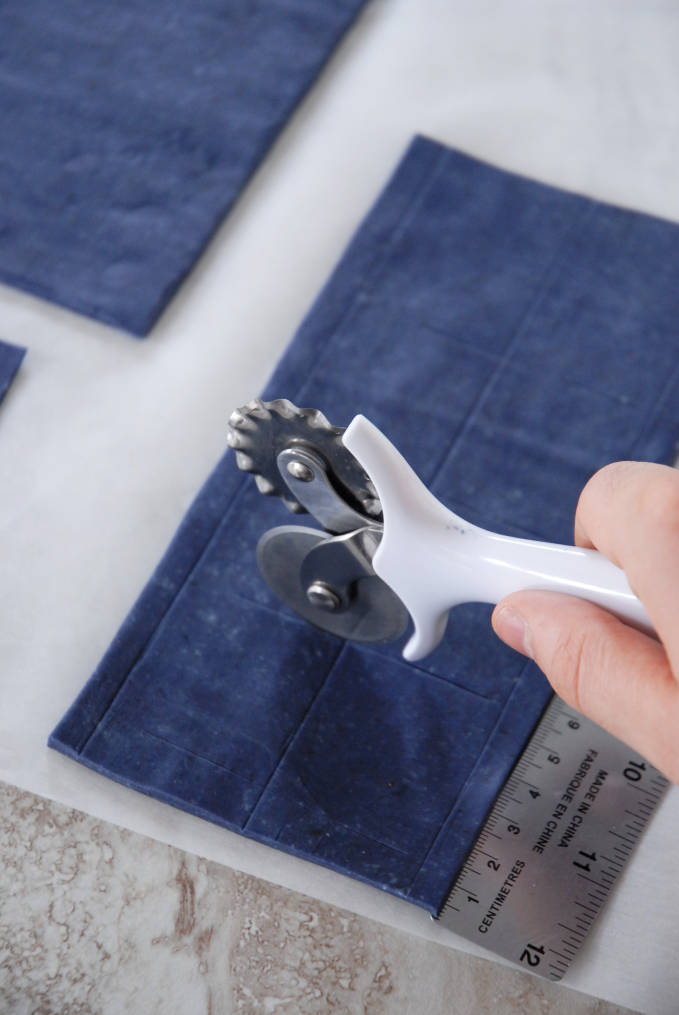
Next, I took a piece of thin cardboard from a cereal box (just because I don’t have reams of thin cardboard laying around the house) are created a “cookie cutter” in the size I needed to cut out uniform panels. Cutting out similarly sized panels with a knife is unnecessarily difficult. I folded the piece of cardboard to make a 3.5cm (1.4 inches) by 3cm (1.2 inches) rectangular cutter.
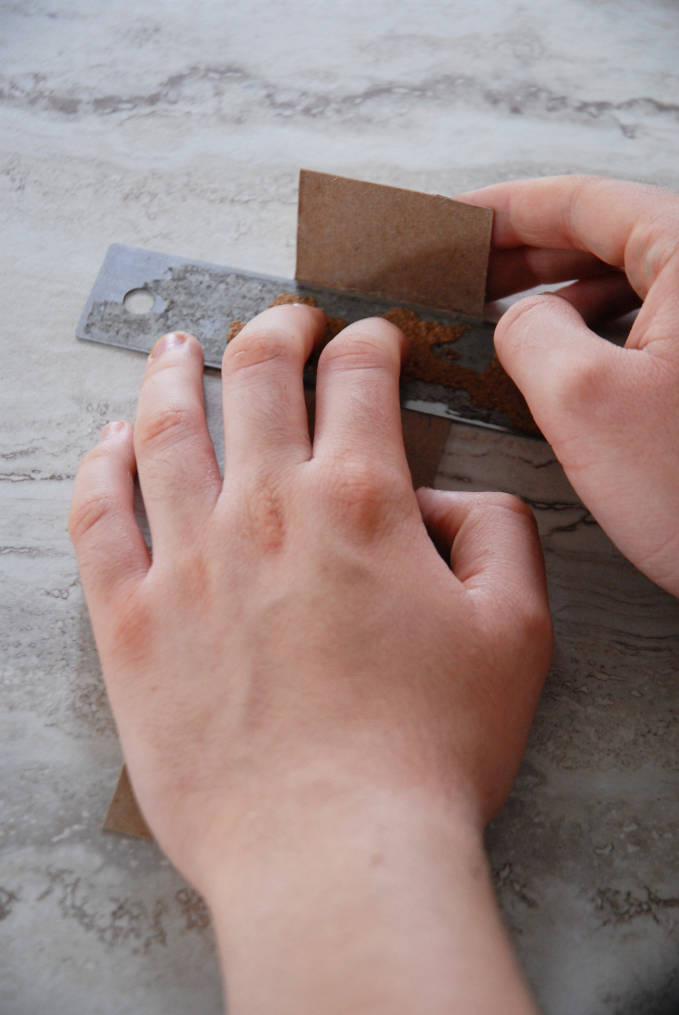
I then used this cookie cutter to cut out eight rectangles, six that would eventually become inset panels and two that would become windows. I cut out the rectangles where the lines I scored intersected, as close to the edges as possible.
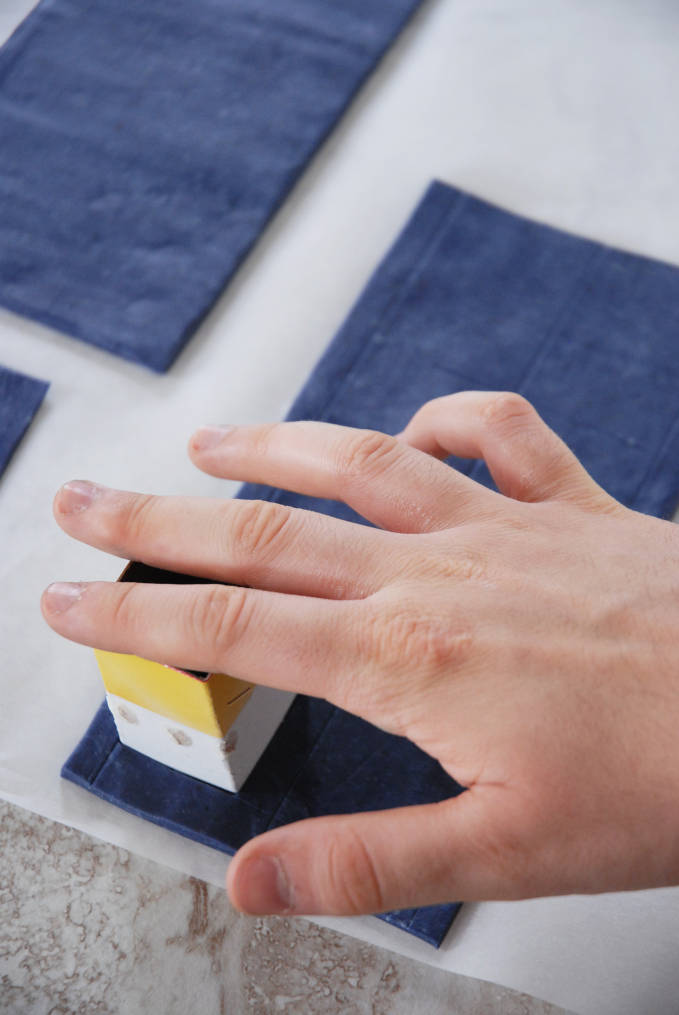
Once I cut out about eight rectangles I found that the cardboard was no longer sharp enough so I cut off a tad from the bottom of the cutter to sharpen it.
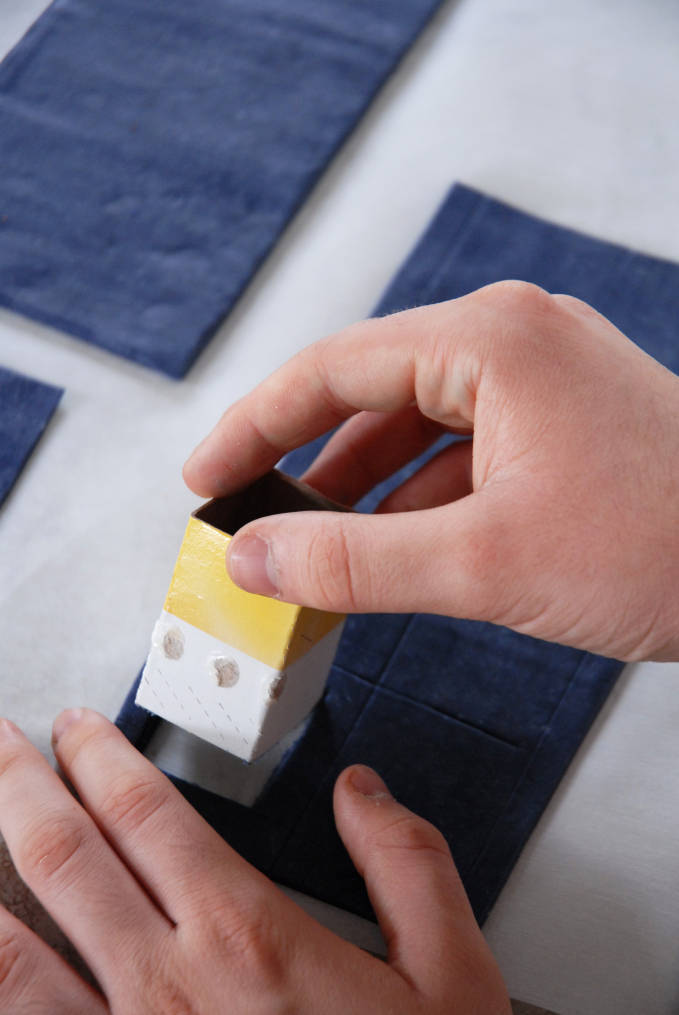
This sharpened the cardboard enough to be able to cut some more rectangles out.
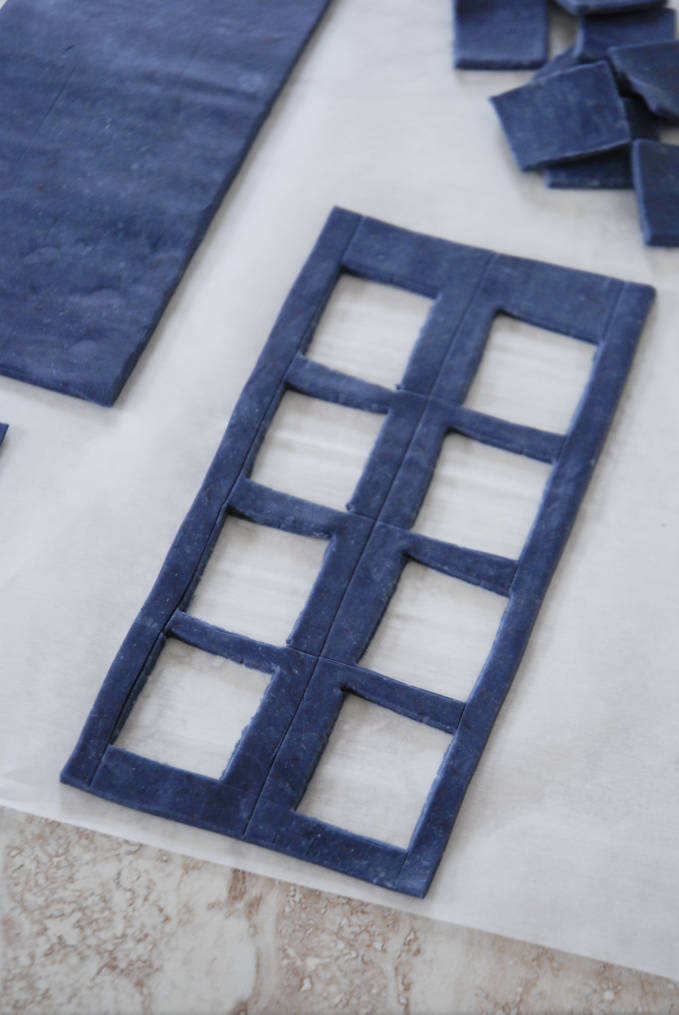
I then took these scrap pieces of modelling chocolate that I cut out and rolled them out until they were very thin. I attached them to the back of the TARDIS side sections in order to create inset panels. Trimming the edges, to remove excess modelling chocolate from the TARDIS side and to ensure perfect right angles inside the inset panels, helps keep everything tidy.
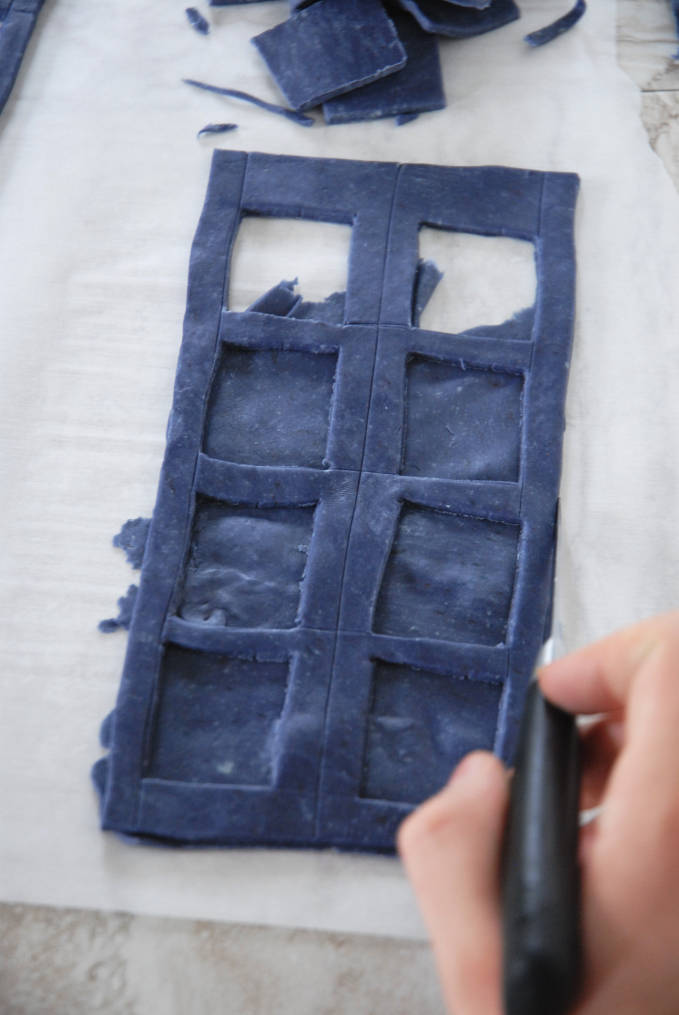
I rolled out a few pieces of marshmallow fondant (you can find my tutorial for making marshmallow fondant here) and pushed them into the two window spots in each TARDIS side. If you find that the fondant does not stick well to the modelling chocolate applying a little bit of water to the sides of the fondant with a brush to make the fondant stickier helps.
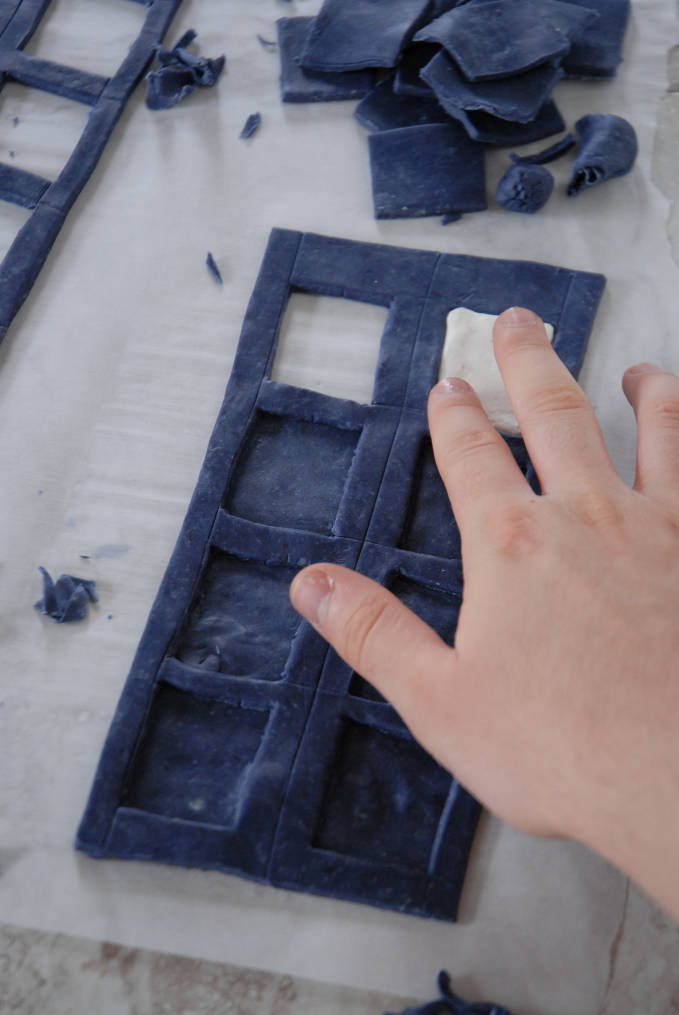
To finish forming the sides I took thin pieces of modelling chocolate and attached them over the fondant and to the modelling chocolate to form window bars. Pressing modelling chocolate to fondant or more modelling chocolate merges everything together nicely. I created a 2 by 3 grid for each window with the modelling chocolate.
I also cut out rectangular pieces of modelling chocolate, about one centimeter wide and long enough to go from the bottom of the TARDIS side up to the windows, and stuck it in the middle of each side by pressing the modelling chocolate to the TARDIS side lightly. Any remaining scores or mark I rubbed out with my finger to ensure the modelling chocolate was smooth all over.
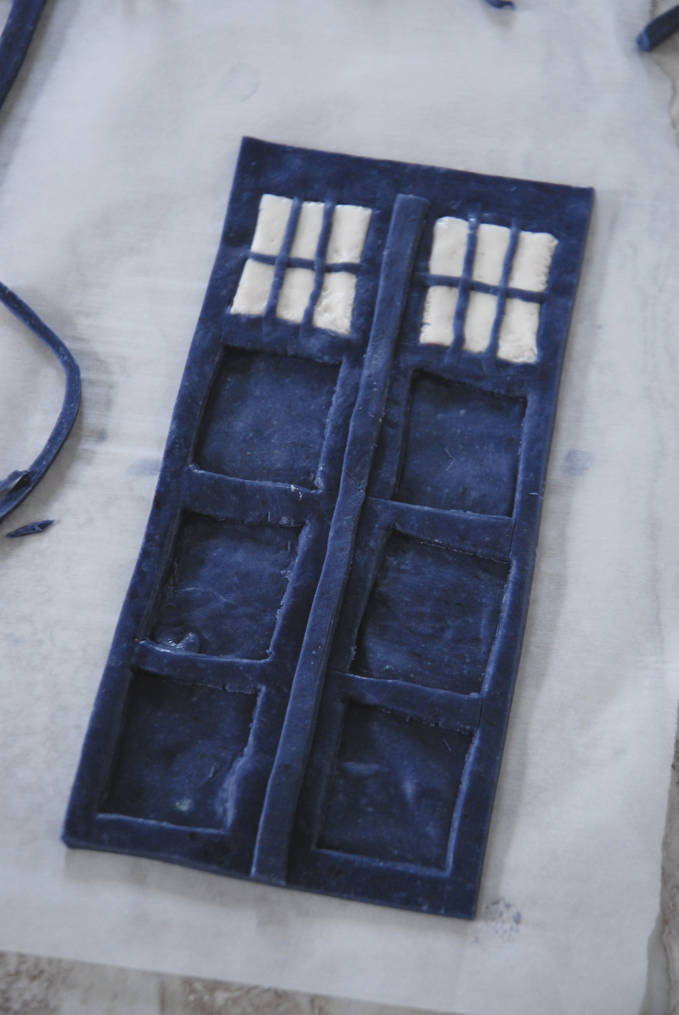
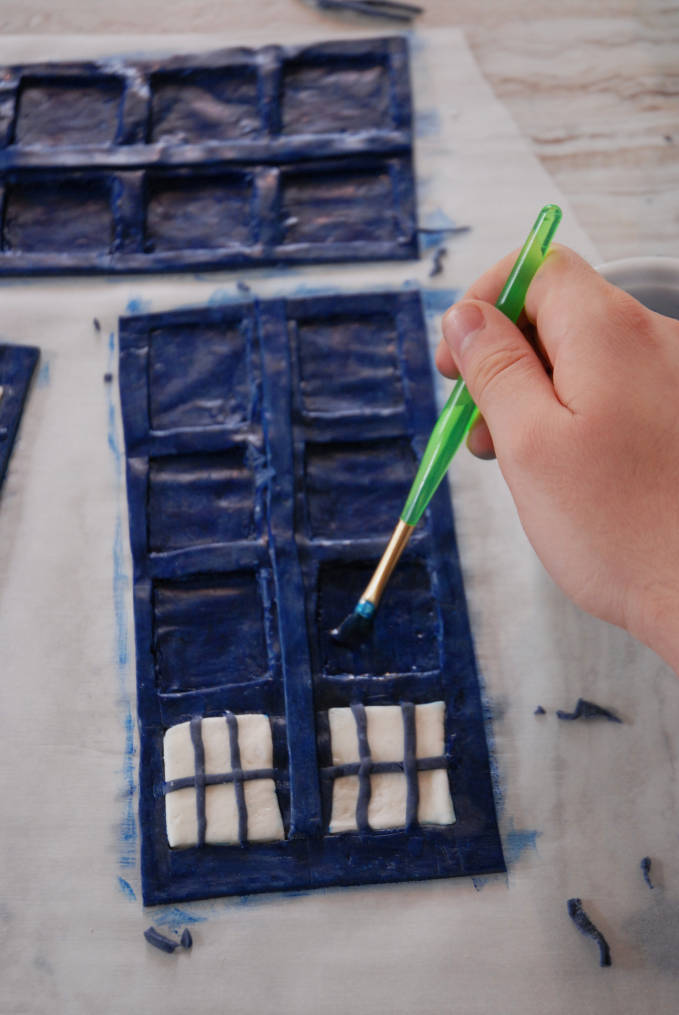
I found that my modelling chocolate was not the right shade of blue (in real life it had more of a purple shade than what is pictured) so I had to paint it. I took some blue gel food colouring and dissolved it in a tiny bit of vodka to make it easier to paint onto the modelling chocolate. I highly suggest not painting the window grid since you are very likely to paint the white fondant blue. If you do decide to paint it, and get blue food colouring on the white fondant, you can remove it by dabbing the stain with a tissue soaked in some vodka.
Once the modelling chocolate dried, I also took a tissue and dabbed black food colouring in some areas.
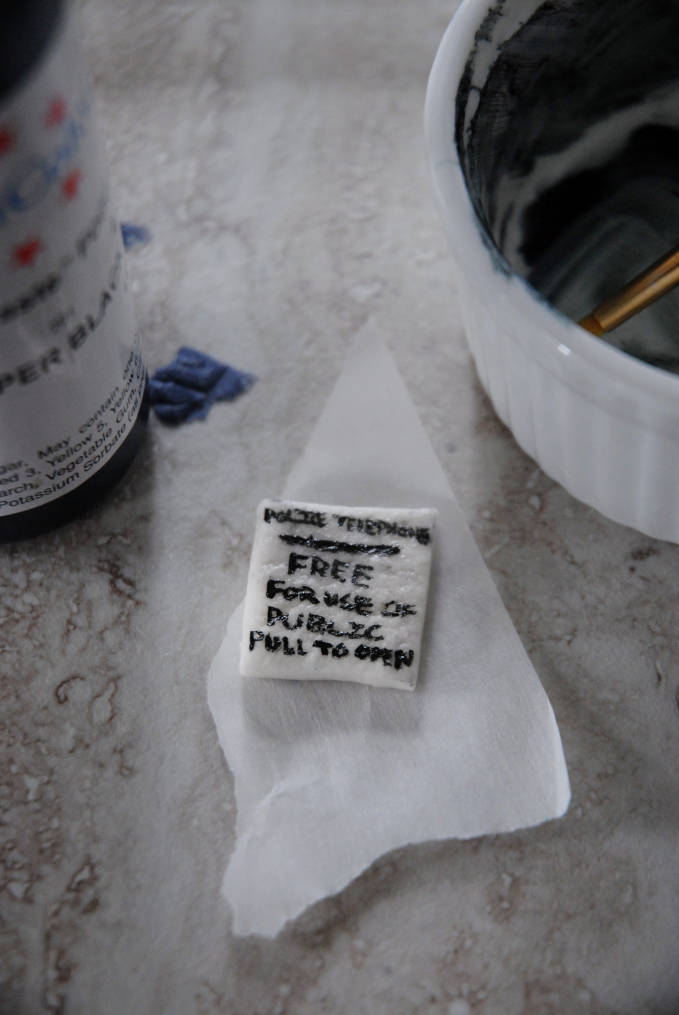
The next step was to make the little pull to open sign on one of the TARDIS sides. Naturally, this side of the TARDIS is where the two doors are. I took a little piece of fondant and painted “POLICE TELEPHONE / FREE / FOR USE OF / PUBLIC / PULL TO OPEN” with black food colouring on it. The actual TARDIS sign has more written on it, but I could not squeeze it all onto a little piece of fondant.
You can, if you wish to, print off the TARDIS sign and just stick it onto the modelling chocolate. Just be sure to remove the piece of paper before serving the cake. There is a link to download the sign at the bottom of the post.
I also cut out four rectangular pieces of fondant and painted them with black food colouring. Once the food colouring dried, I used white food colouring (also known as frosting whitener, icing whitener, or titanium dioxide) to paint “POLICE / PUBLIC CALL / BOX” onto the fondant and stuck the fondant onto the TARDIS sides above the windows.
If you do not wish to make the signs this way, you can also print out the signs linked to at the end of the post and attach them to the TARDIS by pressing the paper onto the modelling chocolate. Again, make sure you peel off the paper before serving the cake.
I attached the pull to open sign to the top left inset panel with a little bit of water brushed onto the back of the fondant. I also attached little pieces of fondant to make the door handles and doorknob of the TARDIS. Note that you just need the handles, doorknob, and pull to open sign for just one of the sides, but you should attach a police public call box sign to each side.
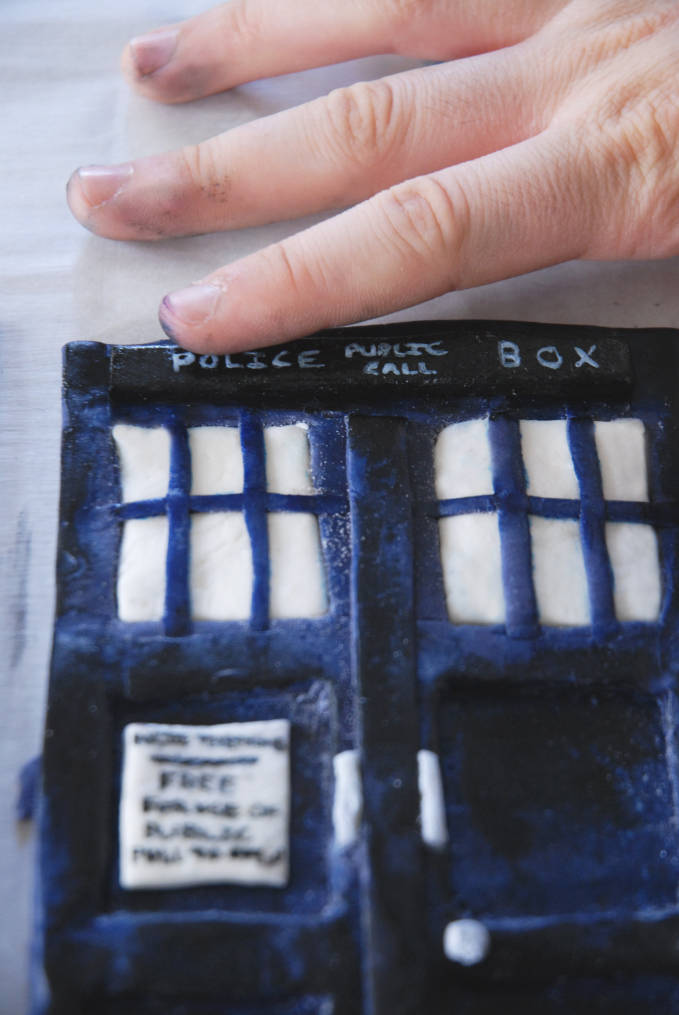
After making the sides the next step is to make the base of the TARDIS. The sides took me by far the longest amount of time; the base and top of the TARDIS came together quite quickly.
To make the base I cut out two 11cm (4.3 inches) squares of modelling chocolate. One of these was quite thin and one thicker. I made the edges of the thicker one slanted by marking the sides of a 10cm (3.9 inches) square in the middle of it. I then used a bench scraper (but of course you can use a knife too) and cut from these marks out to the edges at an angle.
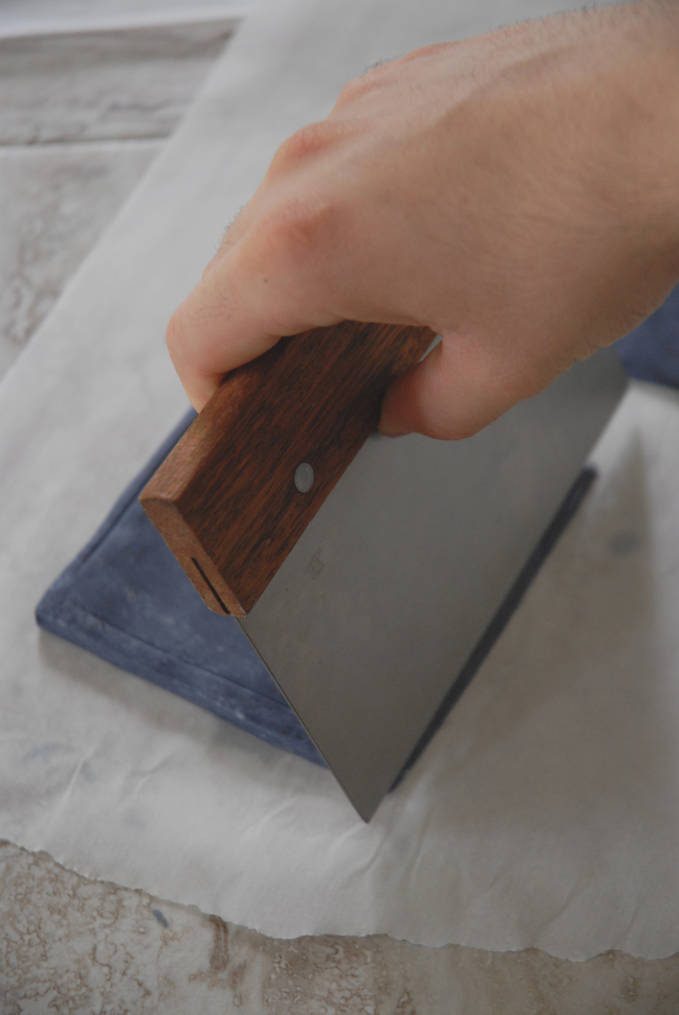
I then attached the thick piece of modelling chocolate to the thin one by pressing them together and cutting off any excess modelling chocolate.
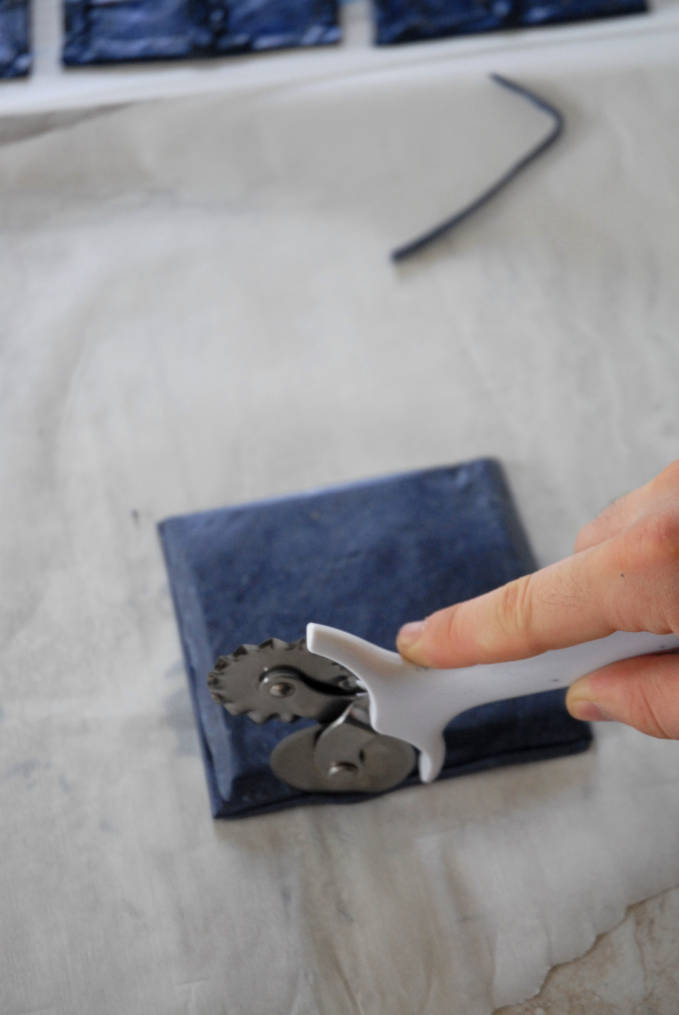
That’s all you need to do to make the base. You can paint it as well, if you wish.
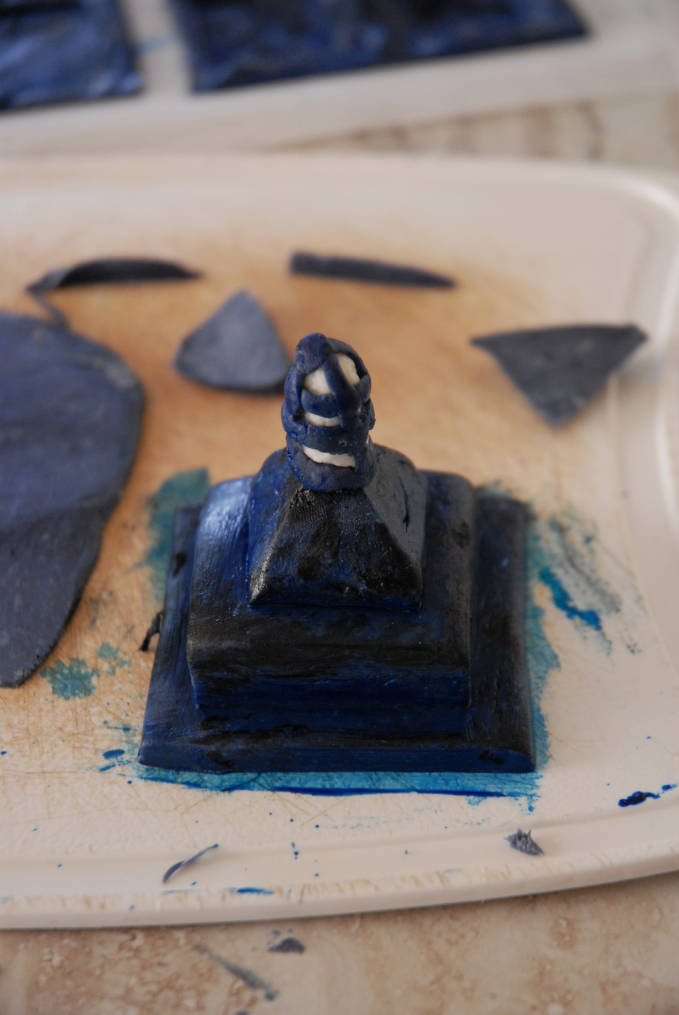
To make the top of the TARDIS, I cut out a square piece of modelling chocolate 10cm (3.9 inches) wide to make the roof. I also cut out two squares of chocolate both smaller than this one. You can also see in the background-left of the photograph below one that square is much thicker than the other. The thicker one is also smaller in width and length than the thinner one.
The top of the TARDIS also has a square based pyramid. I made this by putting a cube of modelling chocolate into the fridge until it was hard, and then carving a pyramid out from it.
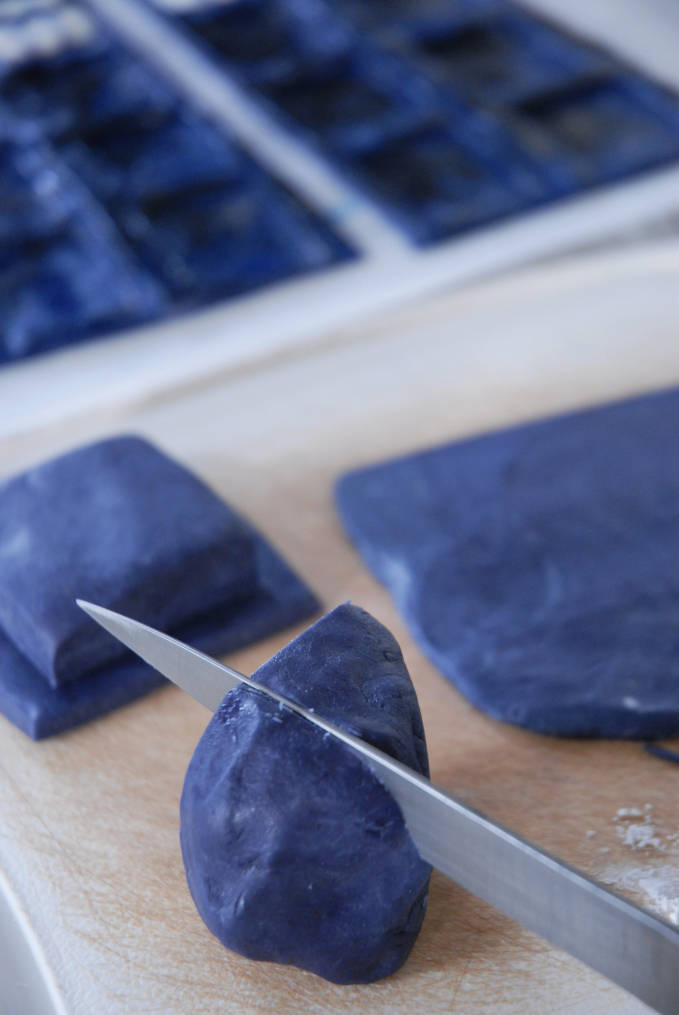
In order to make the lightbulb at the top of the TARDIS, I just took a piece of marshamallow fondant and arranged strips of modelling chocolate around it so that it would look like a lightbulb.
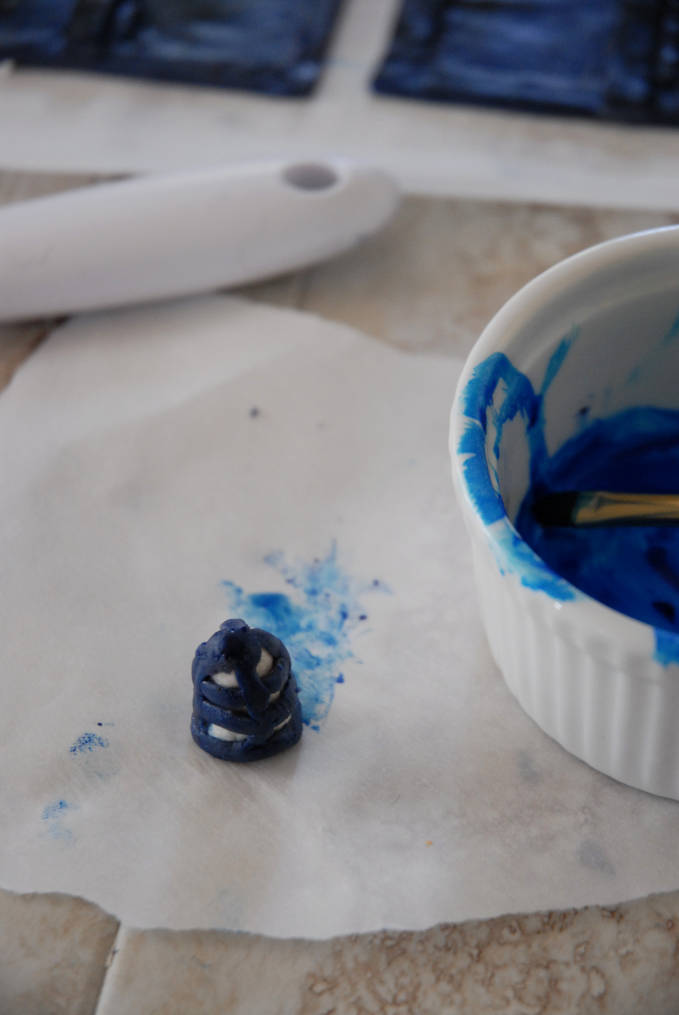
I attached all of these top pieces together (except the large 10cm or 3.9 inch square) and painted them with blue and black food colouring. After you do that, you’re done make modelling chocolate decorations.
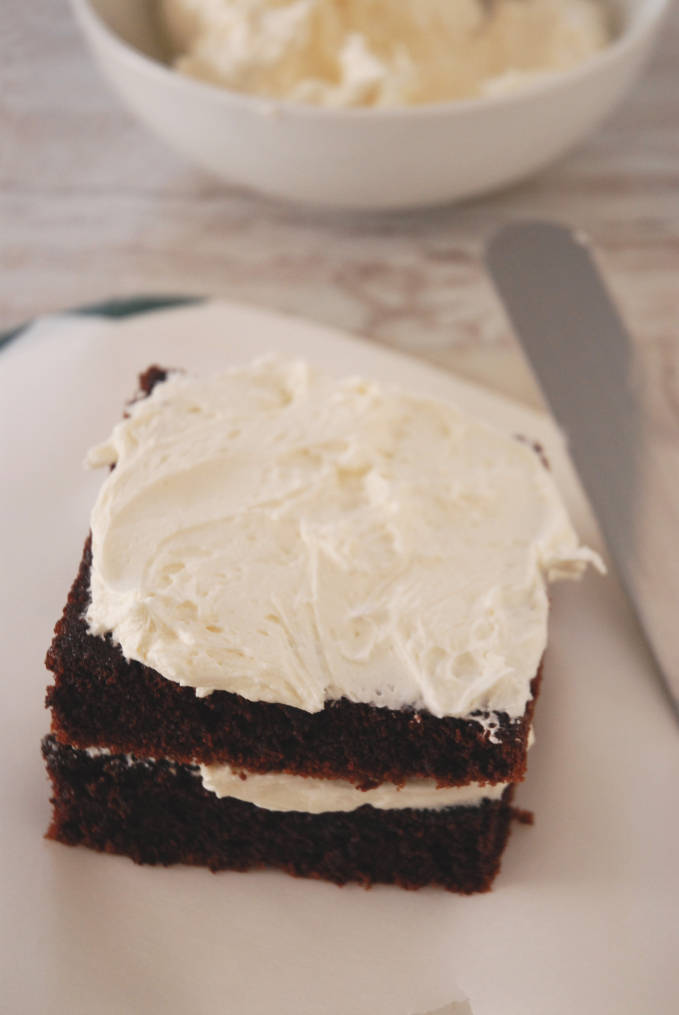
Up next is the actual cake. I chose to use a simple chocolate cake that I baked into a sheet cake and cut into 10cm (3.9 inches) squares and frosted with vanilla buttercream. I ended up stacking eight layers of cake and buttercream to get the cake to be 20cm(7.9 inches) tall, as tall as the TARDIS modelling chocolate sides. Once I stacked all the cake, I cut the tower of cake to ensure it was uniform in width and length. I also added a crumb coat around the cake to seal in all the crumbs. I did not add anymore frosting than that, but if you really love frosting you definitely can.
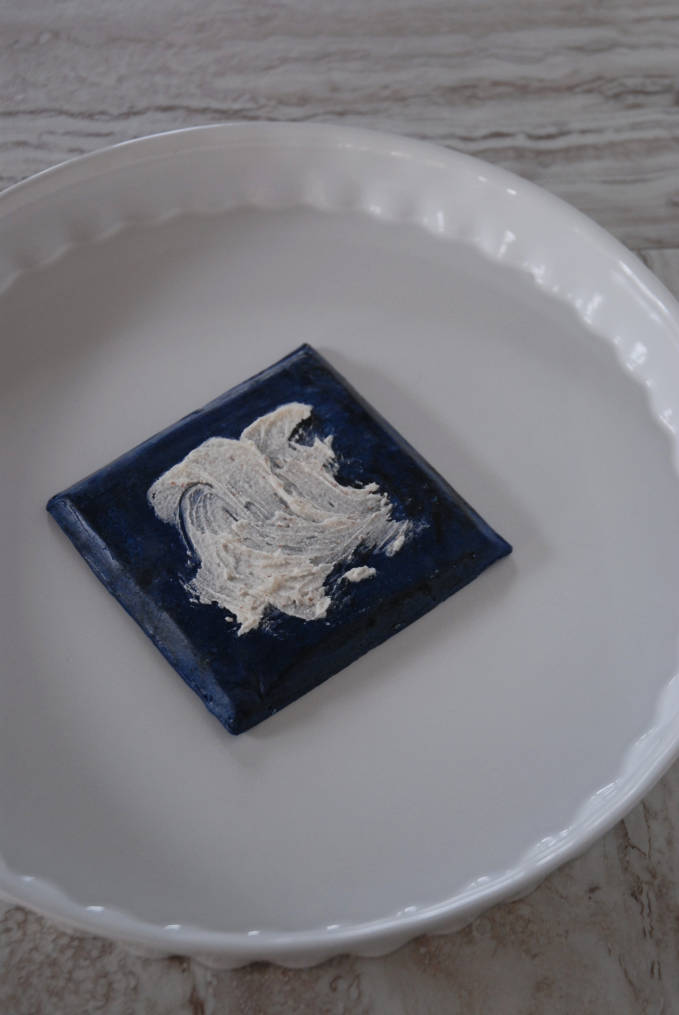
Next, I took the TARDIS base and spread a little bit of buttercream on it. I took the tower of cake and attached it to the base. I found that my cake was tipping over, so I took a piece of modelling chocolate and added it to the modelling chocolate base to even out the cake so that it would not tip over.
I then took the TARDIS sides that I created earlier and stuck them to the cake by just pressing them into the frosting. To attach them to each other I brushed a little bit of vodka onto the edges and pressed them together.
You may notice in my picture that my cake was not big enough. I sure noticed, and was pretty upset. I did not do a very good job in ensuring that my cake layers were of uniform size and so one of the sides leaned. What I ended up doing was taking a piece of modelling chocolate and sticking it between the leaning side and the cake.
Obviously, if possible, you should avoid this problem in the first place by carefully measuring everything. Unfortunately, because I did not, one of my TARDIS sides leaned slightly in the end product regardless of my efforts to fix it.
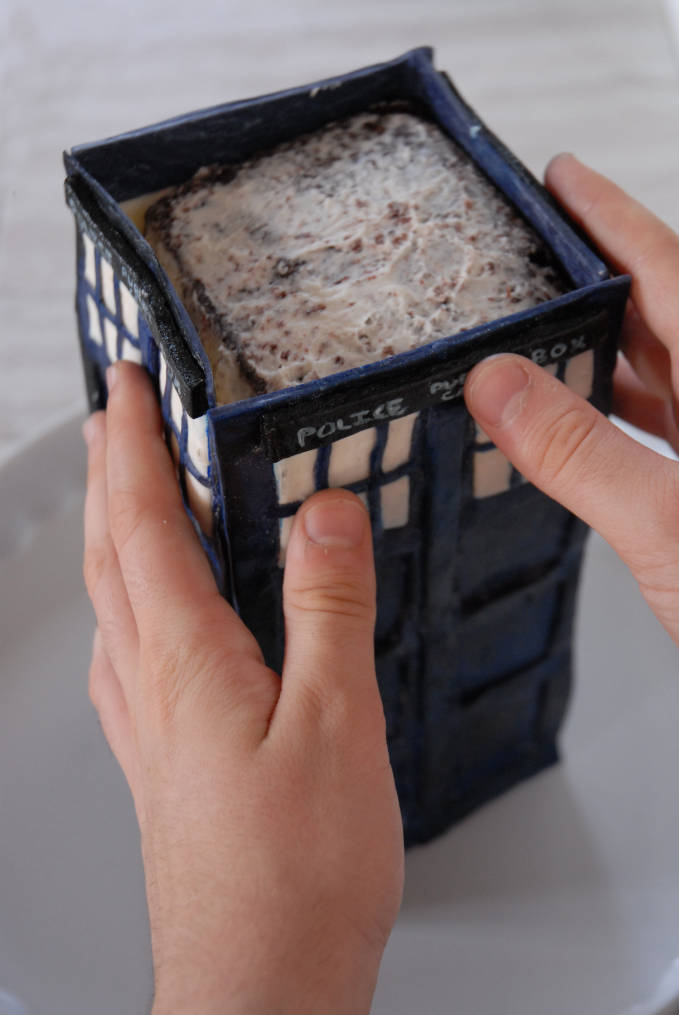
Also, because I did not measure well, the sides of the TARDIS were taller than the cake itself. This left a big gap at the top that I could not easily fix. I put a little bit of modelling chocolate in this gap, and then took the 10cm (3.9 inches) square piece of modelling chocolate and put into the fridge until it was hard. I then stuck it on top. Of course, if you measure well, you will not face this problem and will be able to just stick the top onto the frosting.
I painted the roof with food colouring as well.
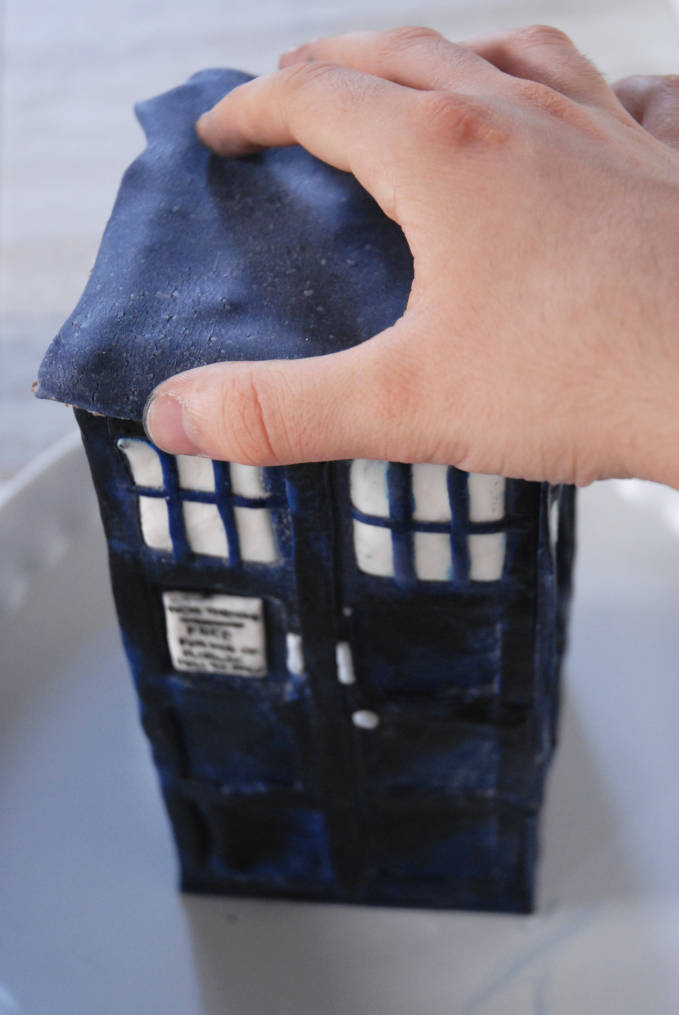
Finally, to finish the TARDIS, I attached the other roof piece in the middle with some water.
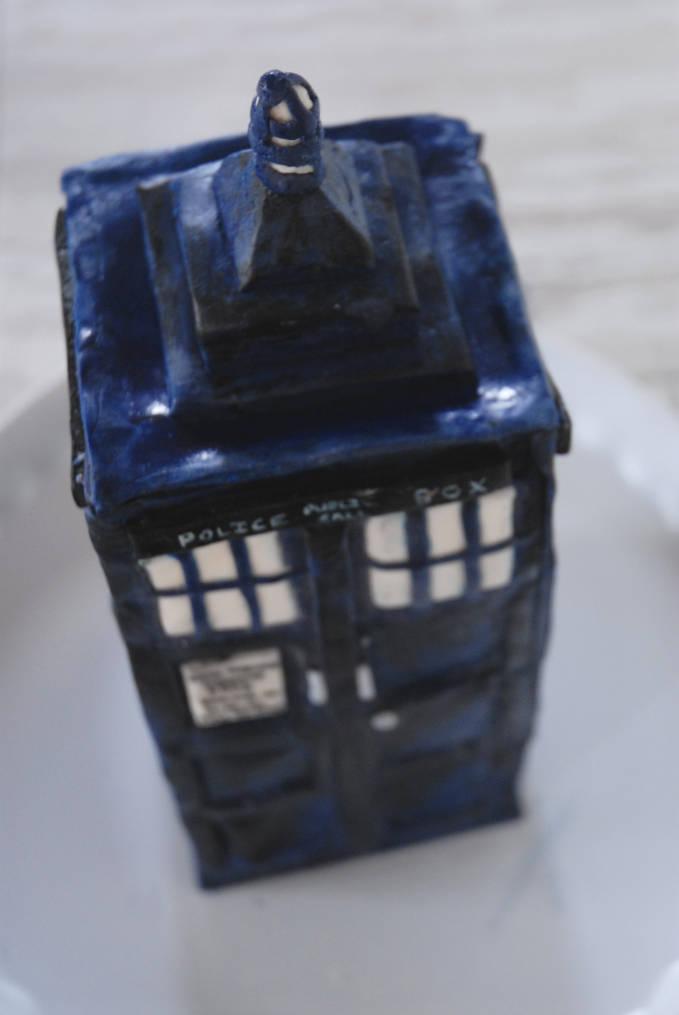
That, ladies and gentlemen, is how you bake a time machine.
Liked this tutorial? Read another one!
P.S. To make it easier to follow all along with all these instructions, I created a file with all the summarized measurements as well as print-outs of all the TARDIS signs that you can either attach to the cake or use as a guide while painting edible fondant signs yourself. Click here to download it.
P.P.S. Happy Canada Day to all my fellow Canadians and Happy (Early) Independence Day to all my friends south of the border!
WHOA.
Spoilers!
What a hoot! Fun project Ilan!
WOW!!! That looks incredible! Excellent tutorial and pictures!
This is just too awesome for words!! I’m so impressed!
Oh my word. This is TOOO cute!
That is so cute I can’t stand it. I wish I had your patience (and creativity too)
This looks like a lot of work….but it looks amazing! :)
Ilan this is amazing! I simply don’t have the patience to master something like this! My husband would absolutely love this cake (big Dr Who fan!).
Can you make a Despicable Me cake as well. This was super neat.
Maybe I’ll get around to it one day – thanks!
love this
love your talent
What would you charge for a cake like this? I have someone that has asked me to make this cake for them, but I am thinking it would be approximately 8″ squared by 15″ high. First time attempting something of this magnitude.
Sorry Julie, I have no idea! I don’t sell the stuff that I make so I’m not familiar with typical pricing.
did you add blue food colouring to the chocolate or a mixture of blue and another colour? and did you use liquid or paste food colouring? :)
Hi Olivia! I used powdered blue food colouring. You can use liquid or paste food colouring, but you might need more of it because it isn’t as strong. Make sure that you dissolve it in the corn syrup and not in the chocolate, or else it won’t work. I found that my blue was slightly off though, so I ended up painting everything with a blue gel food colouring after. Please let me know how yours turns out!
thankyou :) I will! do you have a copy of the recipe or a link to the recipe you used for the modelling chocolate?
I watched a lot of videos on Youtube, and then I used this video, twice. The first time I stirred too much and it didn’t work out nicely.
This looks quite delicious!
Thank you so much for this tutorial. I personally do not watch Dr. Who but my friend requested a groom’s cake and I was so petrified of the TARDIS as that is what she wanted. I tried a couple of flat fondant ones and they were not the best yesterday. I came across this tutorial and I decided to do just a flat fondant TARDIS as opposed to the standing structure. ALl of your step by step tips were so helpful! It made my TARDIS much better and she likes it! Feeling much better about the cake I need to make now. Thank you so much!
Just wanted to pop by & thank you for sharing this tutorial & layout with us. I made a Tardis a few weeks ago, and would have been completely lost without it!